
V2.1: Getting Started
Hello. If you're reading this page, it's likely you want to learn more about Hanami. This is great, and we're excited to have you here!
If you're looking for new ways to build maintainable, secure, faster and testable Ruby apps, you're in for a treat. Hanami is built for people like you.
Whether you're a total beginner or an experienced developer, this learning process may still be hard. Over time, we become used to certain things, and it can be painful to change. But without change, there is no challenge and without challenge, there is no growth.
In this guide we'll set up our first Hanami project and build a simple web app. We'll touch on all the major components of the Hanami framework, guided by tests at each stage.
If you feel alone or frustrated, don't give up, jump into our forum and ask for help. We and the rest of our community are putting in our best efforts to make Hanami better every day.
Enjoy,
Luca, Peter and Tim
Hanami core team
Getting started
Hanami is a Ruby framework designed to create software that is well-architected, maintainable and a pleasure to work on.
These guides aim to introduce you to the Hanami framework and demonstrate how its components fit together to produce a coherent app.
Ideally, you already have some familiarity with web apps and the Ruby language.
Creating a Hanami app
Prerequisites
To create a Hanami app, you will need Ruby 3.0 or greater. Check your ruby version:
$ ruby --version
If you need to install or upgrade Ruby, follow the instructions on ruby-lang.org.
You also need Node.js installed, for front end assets. To confirm this, check that npm is available:
$ npm --version
If you need to install or upgrade Node.js, follow the instructions on nodejs.org.
Installing the gem
In order to create a Hanami app, first install the hanami gem:
$ gem install hanami
Using the app generator
Hanami provides a hanami new command for generating a new app.
Let’s use it to create a new app for managing books called bookshelf:
$ hanami new bookshelf
Running this command has created a new bookshelf directory in our current location. Here’s what it contains:
$ cd bookshelf
$ tree --gitignore .
.
├── Gemfile
├── Gemfile.lock
├── Guardfile
├── Procfile.dev
├── README.md
├── Rakefile
├── app
│   ├── action.rb
│   ├── actions
│   ├── assets
│   │   ├── css
│   │   │   └── app.css
│   │   ├── images
│   │   │   └── favicon.ico
│   │   └── js
│   │       └── app.js
│   ├── templates
│   │   └── layouts
│   │       └── app.html.erb
│   ├── view.rb
│   └── views
│       └── helpers.rb
├── bin
│   └── dev
├── config
│   ├── app.rb
│   ├── assets.js
│   ├── puma.rb
│   ├── routes.rb
│   └── settings.rb
├── config.ru
├── lib
│   ├── bookshelf
│   │   └── types.rb
│   └── tasks
├── package-lock.json
├── package.json
└── spec
    ├── requests
    │   └── root_spec.rb
    ├── spec_helper.rb
    └── support
        ├── requests.rb
        └── rspec.rb

18 directories, 27 files
As you can see, a new Hanami app consists of less than 30 files in total.
Here’s how these files and directories are used:
| Location | Purpose |
|---|---|
| Gemfile | The app’s gem dependencies, installed using bundler. |
| Guardfile | Supports code reloading in development. |
| Procfile.dev | For running Hanami dev server processes: both the server and assets watcher. |
| package.json | The app’s Node.js package dependencies, for assets management, installed using npm. |
| README.md | The app’s README document. |
| Rakefile | Support for running Rake tasks. |
| app/ | This is the directory where you’ll put the majority of your app’s code. |
| config/ | A directory for your app and assets configuration, also including things like routes, settings and Puma configuration. |
| config.ru | The Rack config file. |
| lib/ | A directory for supporting code. |
| spec/ | The app’s RSpec test suite. |
We’ll see this structure in more detail as this guide progresses.
For now let’s get our new app running. In the bookshelf directory, run:
$ bundle exec hanami dev
If all has gone well, you should see output similar to:
11:02:11 web.1    | started with pid 31643
11:02:11 assets.1 | started with pid 31644
11:02:12 web.1    | 11:02:12 - INFO - Using Guardfile at /Users/jane/bookshelf/Guardfile.
11:02:12 web.1    | 11:02:12 - INFO - Puma starting on port 2300 in development environment.
11:02:12 web.1    | 11:02:12 - INFO - Guard is now watching at '/Users/jane/bookshelf'
11:02:13 assets.1 | [watch] build finished, watching for changes...
11:02:13 web.1    | Puma starting in single mode...
11:02:13 web.1    | * Puma version: 6.4.0 (ruby 3.2.0-p0) ("The Eagle of Durango")
11:02:13 web.1    | *  Min threads: 5
11:02:13 web.1    | *  Max threads: 5
11:02:13 web.1    | *  Environment: development
11:02:13 web.1    | *          PID: 31669
11:02:13 web.1    | * Listening on http://0.0.0.0:2300
11:02:13 web.1    | * Starting control server on http://127.0.0.1:9293
11:02:13 web.1    | * Starting control server on http://[::1]:9293
11:02:13 web.1    | Use Ctrl-C to stop
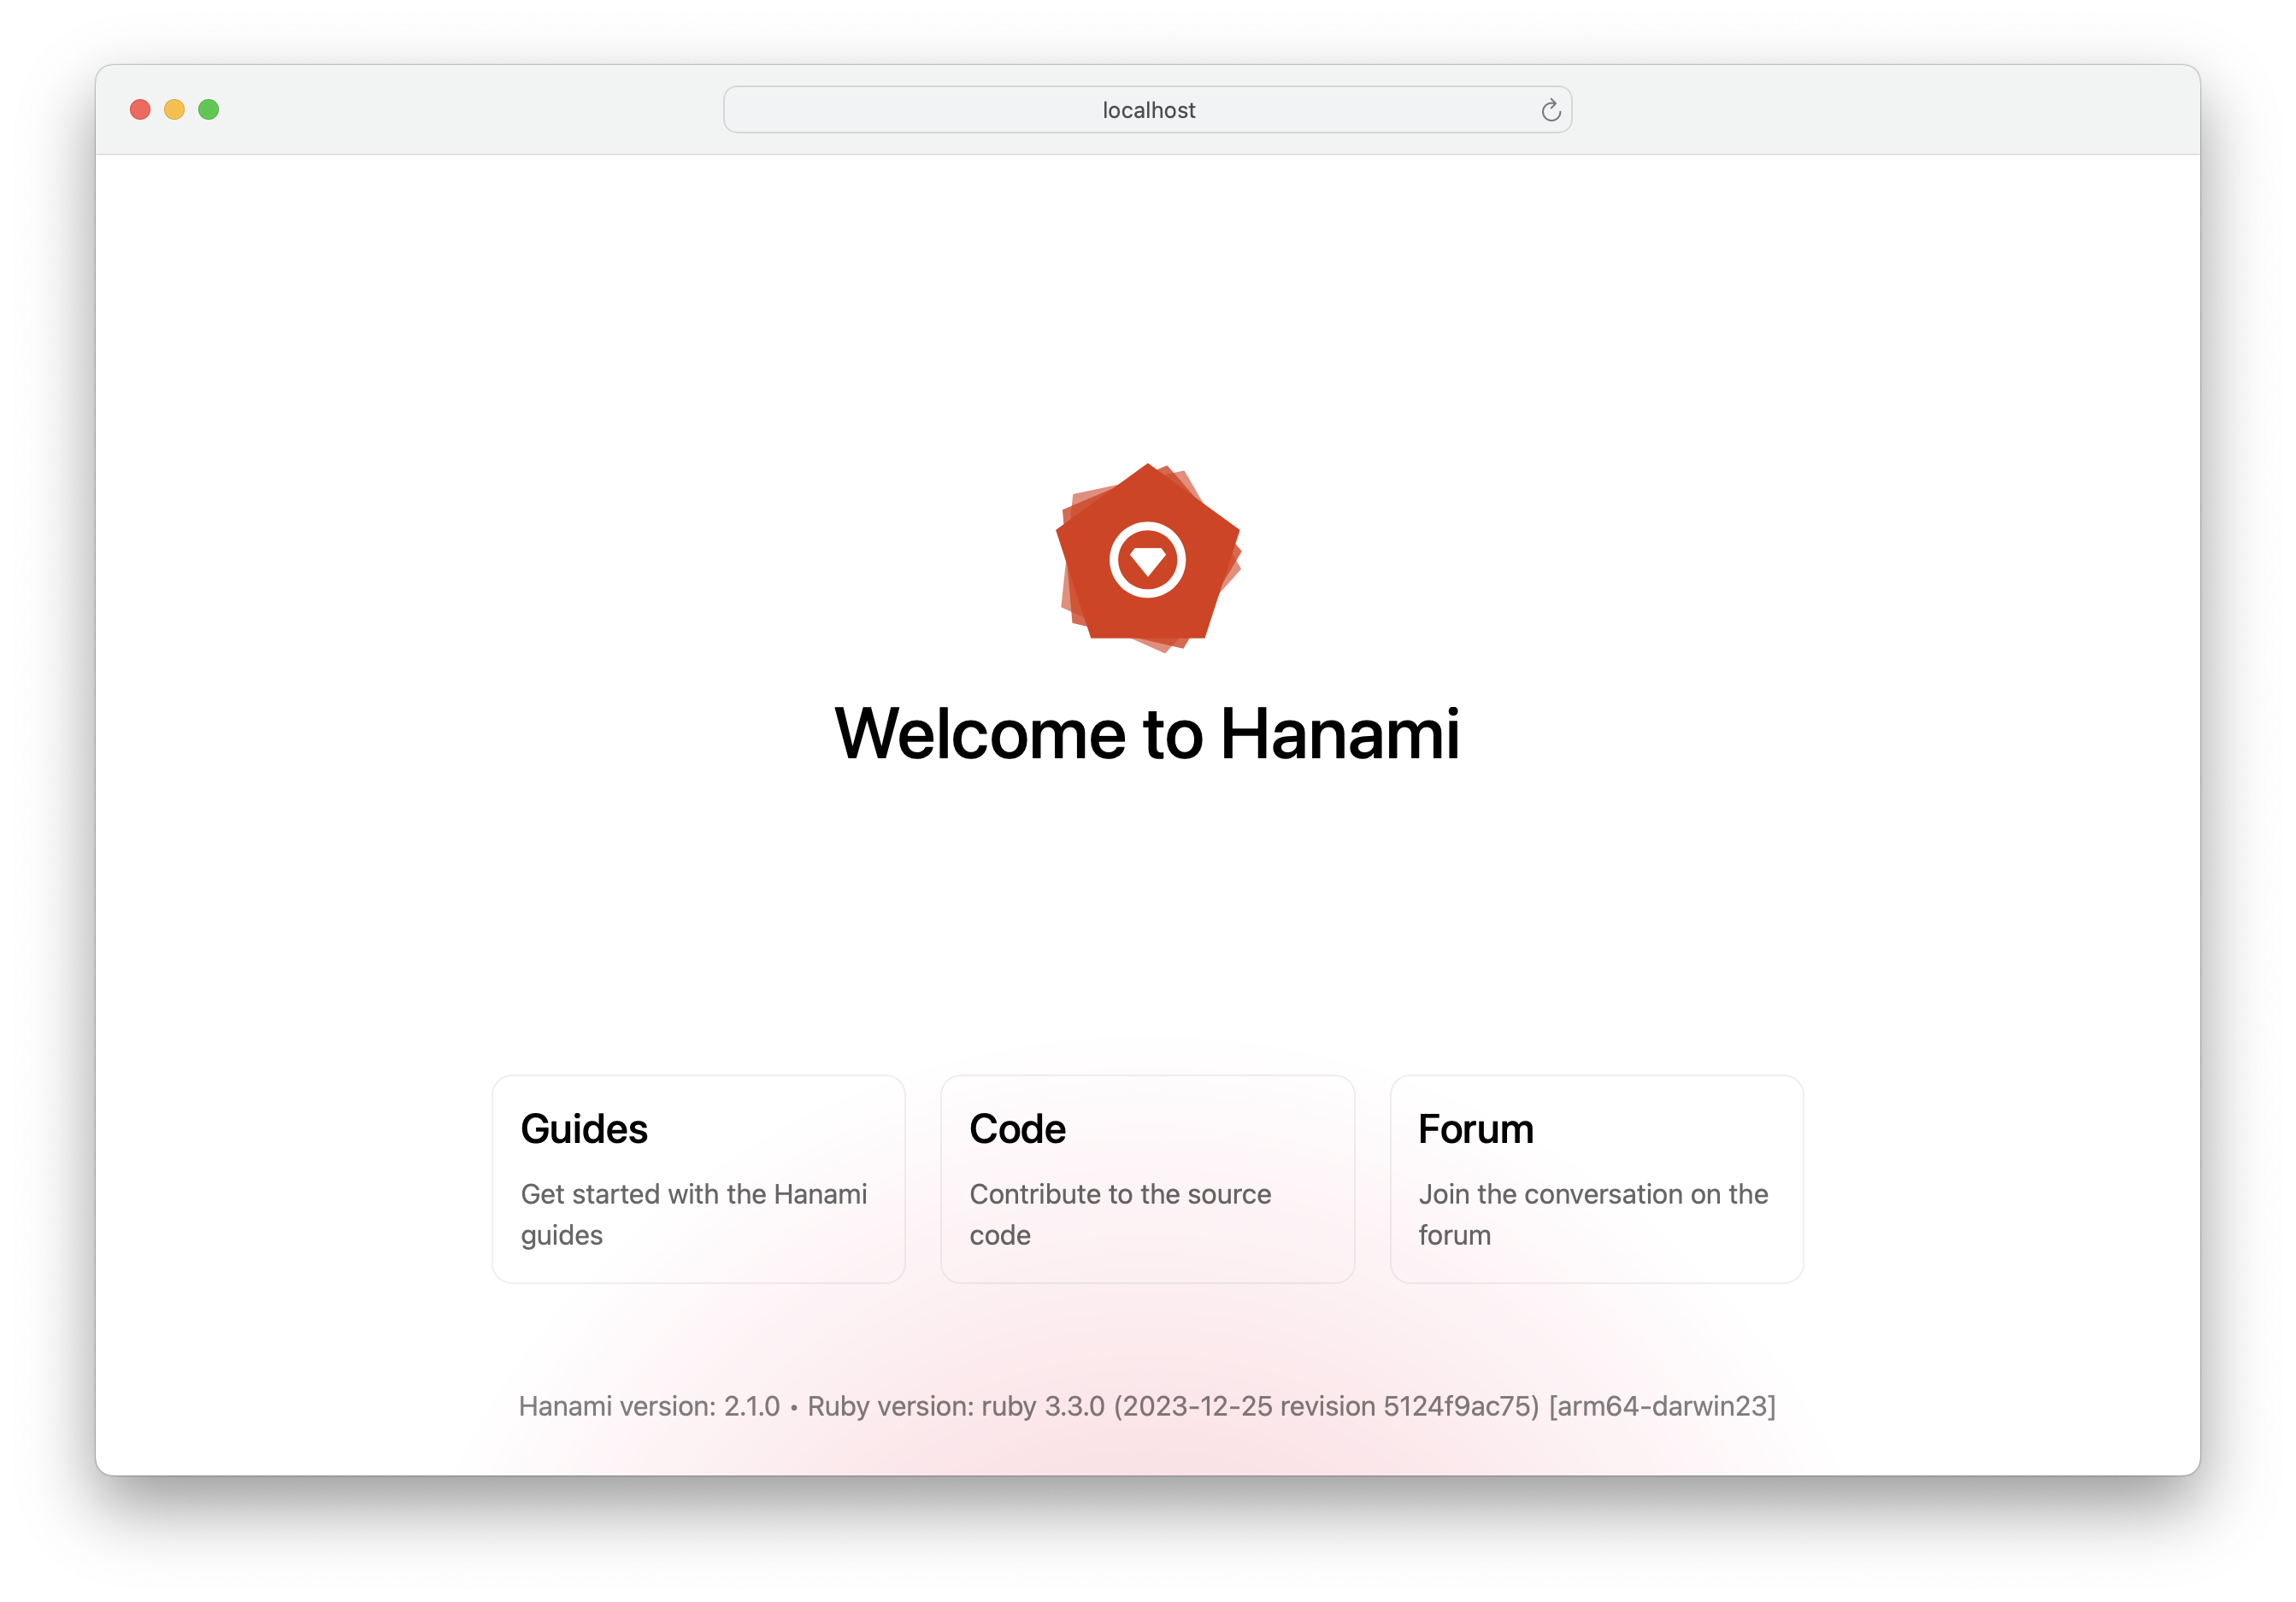
Visit your app in the browser at http://localhost:2300
$ open http://localhost:2300
You should see the Hanami welcome screen. We’re delighted to have you here!
Building a Hanami app
It’s time to get started building your app. Your next steps here will be based on the kind of app you want to build: